Custom Robots Header Tags play a vital role in optimizing the visibility of your Blogger blog on search engines.
These tags allow you to direct search engine crawlers on how to index and follow your website’s content.
In this comprehensive guide, we will discuss how to set up custom robots header tags for different sections of your Blogger website—home page, archive and search pages, and individual posts and pages.
We’ll explore each tag and its possible values to help you make informed decisions for optimal SEO.
Table of Contents
Understanding Robots Header Tags
Robots header tags, in essence, instruct search engine robots how to index and crawl pages on the website.
Furnishing the crawlers with guidelines on which pages to crawl, index, or ignore, they serve as traffic lights on the information-heavy artery of the internet, guiding the flow of data into the reservoirs of search engines like Google.
Home Page Tags
The home page is often the first interaction point with your audience, making it essential to configure robots header tags thoughtfully.
Let’s discuss each tag and its respective values for the home page:
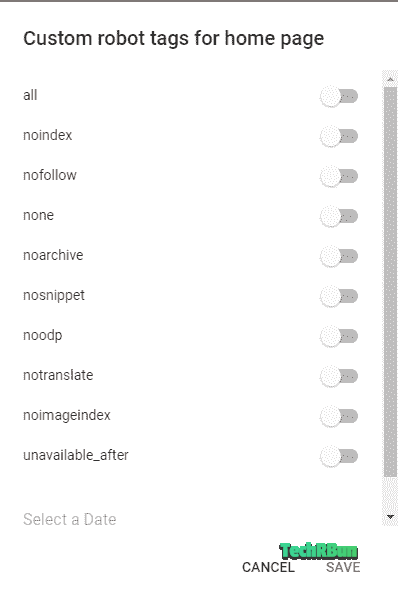
| Tag | Value | Description |
|---|---|---|
all | all | Index and follow all content on the home page. |
noindex | noindex | Instruct search engines not to index the home page. |
nofollow | nofollow | Instruct search engines not to follow links on the home page. |
none | none | Equivalent to noindex, nofollow – Do not index and do not follow links. |
noarchive | noarchive | Instruct search engines not to show a cached copy of the home page. |
nosnippet | nosnippet | Instruct search engines not to display a snippet or description for the home page. |
noodp | noodp | Instruct search engines not to use Open Directory Project (ODP) information in the snippet. |
notranslate | notranslate | Instruct search engines not to translate the content of the home page. |
noimageindex | noimageindex | Instruct search engines not to index images on the home page. |
unavailable_after | Specify a date/time | Instruct search engines not to display the content after a specified date/time. |
Optimal Setup for Home Page Tags
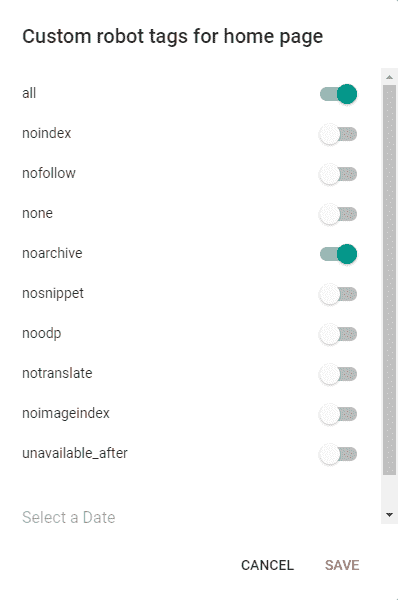
For the home page, an optimal setup typically involves using the all value to index and follow all content, unless you have specific reasons for using other values.
Additionally, utilizing noarchive can be beneficial if you don’t want a cached copy of your home page to appear in search results. Using noarchive will always ensure that the latest changes on your homepage are reflected on the SERP.
Archive and Search Page Tags
Archive and search pages present collections of posts based on specific criteria, necessitating effective configuration of robots header tags.
Let’s explore the possible options and values for these pages:
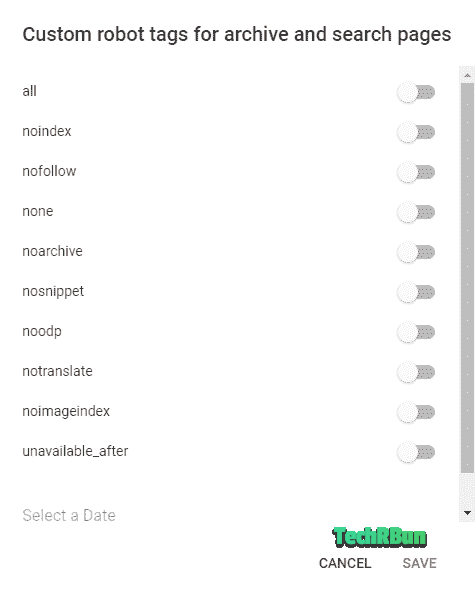
| Tag | Value | Description |
|---|---|---|
all | all | Index and follow all content on archive/search pages. |
noindex | noindex | Instruct search engines not to index archive/search pages. |
nofollow | nofollow | Instruct search engines not to follow links on these pages. |
none | none | Equivalent to noindex, nofollow – Do not index and do not follow links. |
noarchive | noarchive | Instruct search engines not to show a cached copy of these pages. |
nosnippet | nosnippet | Instruct search engines not to display a snippet or description for these pages. |
Optimal Setup for Archive and Search Page Tags

For archive and search pages, it’s generally recommended to use the noindex value.
These pages typically do not contain unique or valuable content, making indexing unnecessary.
Additionally, using nofollow helps prevent search engines from following links on these pages, maintaining a focused crawl.
Post and Page Tags
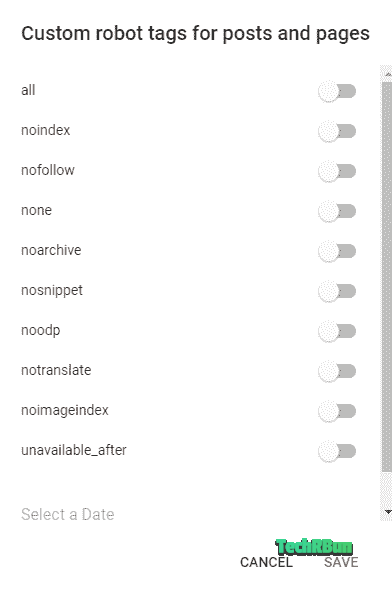
Individual posts and pages are the core content of your Blogger blog, making it crucial to optimize the robots header tags for these components.
Here are the options and values for custom robots header tags on posts and pages:
| Tag | Value | Description |
|---|---|---|
all | all | Index and follow all content on the post/page. |
noindex | noindex | Instruct search engines not to index the post/page. |
nofollow | nofollow | Instruct search engines not to follow links on the post/page. |
none | none | Equivalent to noindex, nofollow – Do not index and do not follow links. |
noarchive | noarchive | Instruct search engines not to show a cached copy of the post/page. |
nosnippet | nosnippet | Instruct search engines not to display a snippet or description for the post/page. |
noodp | noodp | Instruct search engines not to use Open Directory Project (ODP) information in the snippet. |
notranslate | notranslate | Instruct search engines not to translate the content of the post/page. |
noimageindex | noimageindex | Instruct search engines not to index images on the post/page. |
unavailable_after | Specify a date/time | Instruct search engines not to display the content after a specified date/time. |
Optimal Setup for Post and Page Tags

For individual posts and pages, the optimal setup typically involves using the all value to index and follow all content.
This allows search engines to index the content and follow links within these pages, enhancing visibility and ranking.

Enabling Custom Robots Header Tags in Blogger
Heading into the specifics, the article will now guide you on enabling custom robots header tags in Blogger.
Remember, experienced bloggers who skillfully use these tags generally perform better in search engine rankings.
Step 1: Visit Blogger and Sign In
The process begins with you signing in to your Blogger account.
Locate and click on the “Sign In” button, and input your credentials for logging in.
Step 2: Select the correct blog
Blogger accommodates multiple blogs under a single account. After signing in, choose the specific blog where you’d like to customize robots header tags.
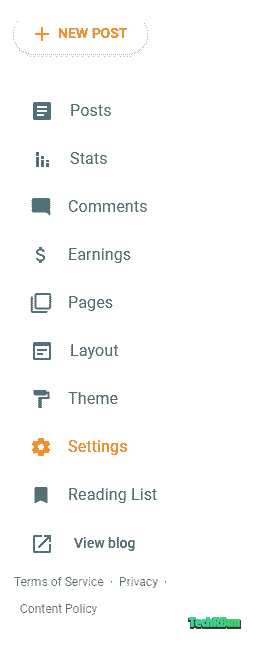
After selecting your blog, locate the “Settings” tab on the left side of your dashboard. Click on it to proceed.
Step 4: Search Preferences
Look for the “Crawlers and Indexing” section in the Settings.
Step 5: Custom Robots Header Tag
Under this, you’ll find the “Enable Custom robots header tags” option.
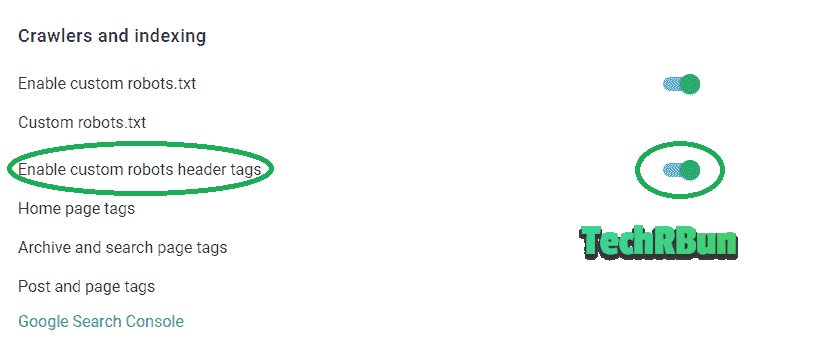
Initially, it would be disabled.
Flip the switch to enable it.
Step 6: Configure Settings
As soon as you enable the custom robots header tags feature, you’ll find a set up box with different options.
Blogger separates these settings for home page, archive and search pages, and default for posts and pages.
Remember the ‘noindex’ and ‘nofollow’ tags discussed before?
Here’s where they play their role. You can decide if you want certain pages to be indexed or followed.
You should follow the optimal setup instructions that I’ve provided above for each page type.
Step 7: Save Changes
After customizing all settings according to your needs, click ‘Save changes.’
It’s important to remember that all changes are reversible. Feel free to experiment and locate the optimal settings for your blog.
By following these straightforward steps, custom robots header tags can be successfully activated in your Blogger account.
Incorporate them into your SEO strategy, and watch your blog’s traffic soar.
Remember, with technology comes efficiency, and with efficiency comes success. Let custom robots header tags be your success game-changer.

In conclusion, configuring custom robots header tags is a fundamental aspect of Blogger SEO.
By strategically setting up these tags for the home page, archive and search pages, and individual posts and pages, you can guide search engines effectively and improve your website’s search engine rankings.
Make sure to regularly review and update these settings based on the evolving needs of your blog and SEO strategies.